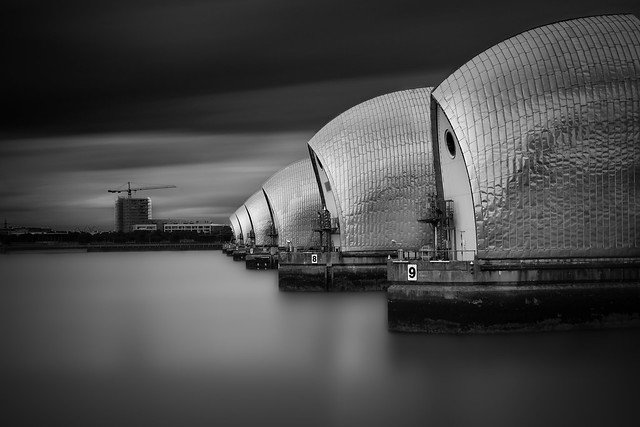
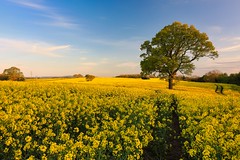
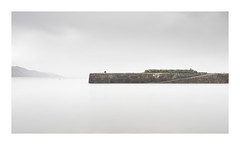
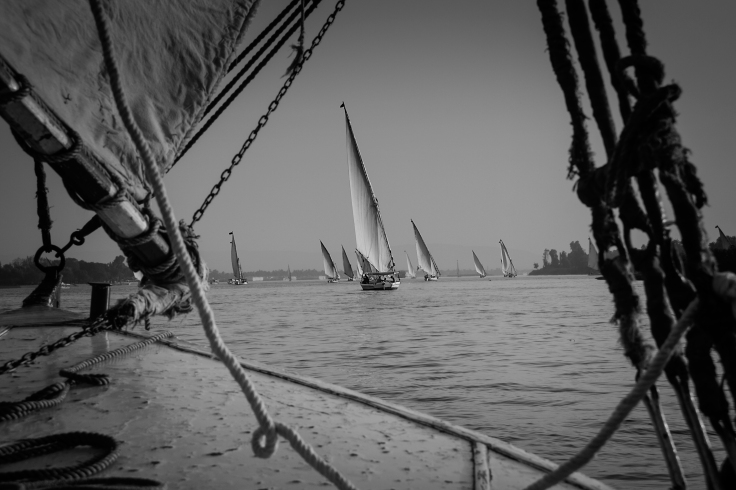
Long exposure is a photographic method in which you use a filter on your camera to lengthen the time of your exposure – usually up to several minutes in length. The result is a photo similar to the one above. I’d dabbled in this before, but I decided to learn from the master and took a weekend class with Flickr’s very own Vulture Labs. And suffice to say, I learned a TON.
Man, no one told me having a kid takes up so much time!
Despite the fact that I haven’t written a damn thing for 2 and a half years, rest assured that we HAVE been busy….very busy in fact!
I’m a Dad!
On January 10th my beautiful daughter Isabella was born at 11:23 pm, which is actually really cool because it’s also my Grandma’s birthday (she was 91 on that day last week!)
So needless to say the photography has begun! It’s a lot of fun – I love taking pictures, and now I have a model that doesn’t mind having her picture taken (granted I do have to work around her schedule) and of course everyone loves seeing pictures of a new baby so everything works out!
It’s hard to describe the feeling of being a new Dad. It’s almost strange to me that this is something that many other people the world over experience in their life – it feels like something so incredibly unique to me personally, but it’s a common occurrence in a human’s lifetime. So far we’re still in getting to know each other mode, but having never had a baby before I think she’s very well behaved, seems very aware, and has a general happiness level that’s high on the charts!
Over the last few days I’ve been taking some photos and I promise that once I get my act together I’m going to do some tutorials. I believe many of the tutorials going forward will be on particular photos and also what to do with photos once you’ve taken them. Today I’m going to share a few photos that I just took.
The photo above is one that I took this afternoon and one that I’m very pleased with. I took this in natural light of Adriana holding Bella with a 50 mm f/1.2 lens. I set this to f/1.2 to allow maximum bokeh (and minimal depth of field, which you’ll remember from the aperture post). This creates an image where just the back of the head and Adriana’s fingertips are in focus, the rest of the image fading into blur. I then took the photo from Lightroom into Silver Effex Pro, where I converted to B&W and very gently reduced the clarity to make sure the lines weren’t too harsh. I wanted the photo to have a gentle look to it and I think it’s achieved here.
The next two photos are similar and were taken in a similar way. These were also taken with the 50mm f/1.2 lens, but I used a smaller aperture (f/3.2) to make sure there was enough focus on both the baby and Adriana. The photo at the bottom used an aperture of f/1.6; I wanted to create a photo where the baby is the focus and Adriana’s smile is in the background. I think this is well achieved here, and the images lend themselves to B&W not just because of the ugly flannel shirt my wife was wearing (haha!) but because I really believe some images were simply meant for B&W. I then had a post crop vignette to all of the images to give them a slightly more concentrated focal point, bringing the image out from the frame.
Finally, I leave you with a video that I took. Some of you that read my blog regularly will remember that I got some video equipment – especially a slider. This is a tool where I can put my camera on it, then “slide” (as the name implies) to create a different type of image or view. Right now my playing around with it has been very limited, and Isabella’s sleep schedule is so sporadic that I never know if it’s worth getting the equipment out to try and take a video before she flips out. Anyway, I put together a very basic and rough first video using some of the slider footage; I look forward to working on more of these in the near future.
I hope you enjoy these photos and the video, needless to say I’m extremely busy now trying to learn how to take care of my daughter and meet her needs, but at the same time I also have some time off work so it may be that I’ll be able to get some more posts up in the next week before having to return. So please keep stopping by and you can see more images of my beautiful daughter!
Well I know I’m about a week late, but I put together a collection of my favorite photos from my travels with Adriana over 2012. I’ve recently joined Vimeo so am starting to post some videos there – this will be where I post videos that I’ve really worked on, whereas YouTube will still be my dumping ground for random outtakes and what not. Kinda like Flickr vs. 500px but we’ll save that post for another day.
I did struggle a bit in making this – it seemed that the image quality degraded when I built the movie in iMovie. I looked around on the web and this seems to be a somewhat common occurrence with iMovie. But I’m not yet willing to invest in a better movie editor until I can justify the cost. So for the time being this will do.
Anyway, without further ado, please have a look back at 2012!
Happy New Year to one and all!
I hope everyone had a great night doing whatever it is you like to do on New Year’s Eve. Adriana and I went out to watch the fireworks after a nice home made dinner with her parents. I brought my camera and tripod for the fireworks show and we setup camp like we did two years before.
And it struck me once again how incredibly difficult it can be to get good pictures of fireworks! I’ve often struggled with this and I feel pretty confident in using my camera, so it got me thinking about the mass of people standing around us pointing their cameras in the air in “auto” mode and wondering why the pictures weren’t coming out. Yes some cameras have a “Fireworks” mode but I find that it’s often a shot in the dark (no pun intended). So I’ve created a short tutorial on how to take photos of fireworks; you can find it here in the tutorials section.
This brings me to two other quick points I wanted to make – one of my personal New Year’s resolutions is to keep maintaining this blog more regularly and I’ve set a goal of writing at least one tutorial per month (hopefully two). I think this is realistic and will keep me focused on learning new things as well. I’m also slowly branching into video so who knows, maybe as I butcher away my first few videos some of you can learn from my mistakes!
And finally many of you know that my wife is now 9 months pregnant – we’re a week away from the due date. To document our future as parents (and all the trials and tribulations that go along with that seismic shift) we’ve embarked on a joint 365 Instagram project. The hashtag is #365Everywhere if you’d like to take a look. We’ll also be posting the photos to my Flickr page as well if you’d like to check them out. A few years back I did a series of 365 projects and found them to be invaluable in improving my photography skills and can’t recommend it enough if you’ve got a new DSLR for the holidays. You can see my previous 365 projects here and here.
So here’s to a successful year in 2013 – I wish everyone health and happiness and I hope you take your best photos yet this year!
Happy Holidays!
It’s been a long time since I posted so one of my new years resolutions is to get this blog going again. I really enjoy writing in it but my motivation tends to ebb and wane (as it does with almost anything else, not just blogs). But lately I’m on a pretty big photography kick and I’m looking forward to a big life-changing event in the coming weeks so I think this is as good a time as any to start writing again.
And what’s the life changing event? I’m going to be a Dad! And that’s the topic for today’s shoot. I took a couple pics of my wife Adriana a few weekends back so wanted to include them here. I think these pictures are just fantastic and really show the “pregnancy glow” that you so often hear about.
Taking these pics also got me thinking about using flash and how important it is to understand it and use it well. These photos were generally “back-lit” meaning that the sun was pretty much behind Adriana (actually in some cases it was also to her right depending on which way she was facing). So I had to make sure to use the flash and that it was turned up to the appropriate amount, but I don’t want it to overpower her face and I want to make as much use of the daylight as possible.
One of the things I learned about flash many years ago that I always keep in my mind is that it’s not impacted by shutter speed – a flash unit doesn’t care if the shutter speed on the camera is set to 1/10 sec or 1/200 sec (most can’t flash faster than 1/200 or 1/250 sec though). But flash does care about the other two components of exposure – Aperture and ISO. So if you’re taking a picture and the flash isn’t enough (or it’s too much) you can make adjustments to Aperture and ISO to impact the flash, but changing the shutter speed won’t have any impact.
So in the picture above I wanted to make sure Adriana was fully in focus and that the background (Big Ben) was also in significant focus. I wanted it to be a bit blurry so as not to be the focal point of the photo but also in focus enough so it was obvious we’re in London. I found that f/11 was the perfect aperture for this photo. I set the ISO up to 200 to give the flash a bit more “oomph” and the shutter speed turned out to be 1/100 (I was shooting in Aperture priority mode). I left the flash on ETTL (automatic) but I often times shoot with the flash in manual to give me that much more control.
When the photo was completed, I did some basic editing in Lightroom. I normally tend to bump up the clarity in Lightroom but with this photo I was careful not to do that overall. If you bump up the clarity on a portrait it tends to make the faces pretty rough and gritty – not the look I’m going for in a pregnancy shoot. So instead I used the adjustment brush, bumped up the clarity on Big Ben, the bridge and the water, and then was careful not to touch her face or body with the clarity brush. I then shifted the adjustment brush to sharpness, and sharpened Adriana only. Big Ben is ever so slightly out of the focal plane so it doesn’t make much sense to sharpen it.
Below there’s a few more pictures of Adriana that I took on the day, including one of me with her. Anyway in the future I may do an actual recording of how I edit these photos (again it’s pretty basic stuff). I hope you find this useful, I hope you have established some great New Year’s Resolutions for 2013 and I hope they have to do with taking more pictures!
Over a month ago my father-in-law Carlos sent me an email about an amateur photographer exhibition in London called the London Photo Festival. I checked it out and realized it was an event that I had looked at the year before but wasn’t able to enter because I was travelling. But this year I am around and I decided to give it a try! I went through my photos and thought about what types of images I wanted to display. I narrowed it down to about 15 pictures and then I leveraged social media – I posted those 15 photos to my Facebook account and had friends and family “vote” by using the Like function to decide which photos made the grade.
I got a lot of good feedback, and I ended up using 2 of the 3 winners in the Facebook voting session and I made an “executive decision” on the final photo. I went with a general “water” theme and had the organizers of the event print my images. I know that printing and framing my own images would be a great way to differentiate but this is my first time through something like this so I decided to keep it simple until I can see what I’m getting myself into.
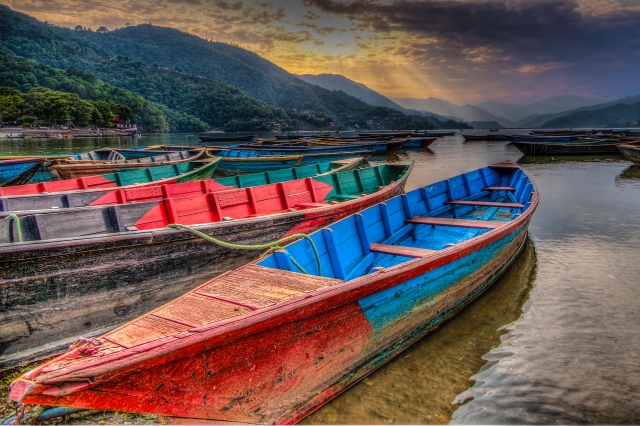
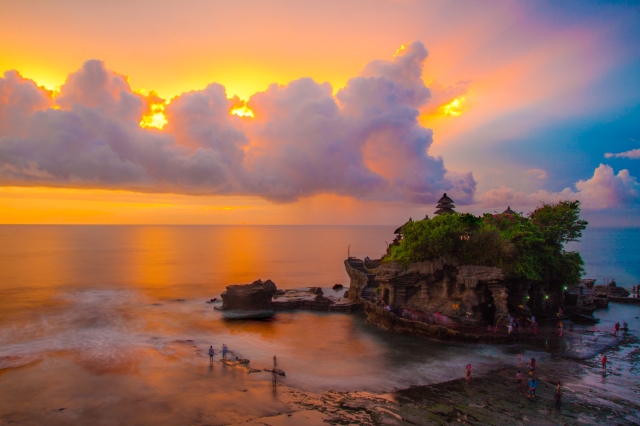
Here are the three images with a brief description on each:
The exhibit is located at “The Crypt” on Borough High Street next week, October 25th – 27th; entry is free. For more details check out the link here. I’m really looking forward to the event and to see how some of my images stack up to the others. One thing I’ll be interested in seeing is the idea of “themes” that people use. I am already thinking I should have spent more time getting together a collection of images that either tells a story or really have something in common, but this is my first time through this so I’ll see how things go.
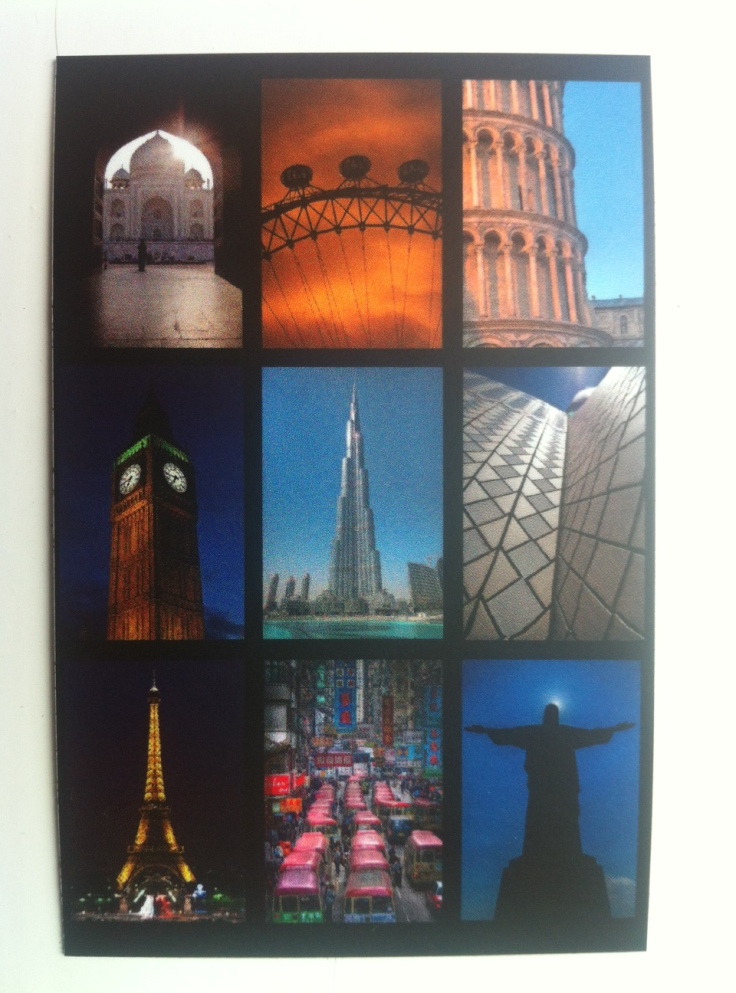
In addition to displaying some photos I decided to do something else as well that’s been on my mind for a while. I created some “business cards” for my photography blog and portfolio. I went to Moo and put together a 9 piece image (the same pictures used to make my banner, for consistency) and then on the back included my website and contact details. I’m certainly not a graphic designer but I think it looks pretty cool. So I’ll have a few of these hanging around my photos so people can grab one if they want, and I think I’ll start carrying a few when I’m on holiday. Sometimes people come up to me while I’m taking pictures (especially when I have my tripod out) and now I have something to hand them so they can eventually check out my photos.
Anyway, here’s a quick iPhone snap of the business cards.
I’m really happy with the quality and I think they look great. I’m looking forward to my first exhibition and for those of you in London I hope to see you there!
By the way my wife and I got back from the Maldives a few weeks back, I’ve got many of the photos processed and will try to get a post up shortly! We had a great time!
 Back to Copenhagen we go! At the end of August my wife and I took a trip to the capital of Denmark for a brief weekend getaway. I already shared my post from Nyhavn Canal, where the beautiful colors provide for some great photographic opportunities. Later that day we proceeded to walk around the city and check out the rest that Copenhagen has to offer.
 We started by walking towards the Marble Church, which you can see here in the background. In this picture I used a very large aperture (small number) so that Adriana is in focus and the background is blurred. This works well here, particularly because there are people meandering around in the background.
Below you can see an image of the Marble Church itself, also known as Frederik’s Church. This is a beautiful building that we passed on our way to the Little Mermaid. In this photo I boosted the clarity in Lightroom to give it a bit of a gritty look. I also did some editing in Focal Point. This software is pretty cool and I’m still getting used to it. On this photo I created a slightly blurred effect with a vignette around the edges. The effect is fairly subtle but it draws the eye into the frame.
As we continued our walk through the city we went through the Rosenborg Palace Garden and I snapped this photo of the Rosenborg Palace. I like the photo below because of the symmetry that is ever so slightly off due to the left tower being slightly higher than the other.
 Eventually we made it to the famous (infamous?) Little Mermaid. It was packed. And when they say Little, they do mean little. Personally I wasn’t all that impressed with this statue and we walked a good way to get a picture. But I guess it’s one of those things that if you’re there you almost need to see, as it’s arguably one of the more famous sites in the city.
 We left the Little Mermaid and walked through the fort/castle on the way to Tivoli Gardens. I took this simple picture of the red building – I liked the way the white window frames and door really stood out, and the placement of the light on the left side seemed to balance the image.
Last but certainly not least, Tivoli Gardens. I absolutely loved this place. Apparently it’s the second oldest amusement park in the world, and the atmosphere is incredible. I can’t really describe it; the age of the place really comes across but not in an antique way. Instead I found it a romantic, nostalgic reminder of what an amusement park could be.
 In the photo above I used the same effect as I did on the Marble Church; this is the entry arch when you come into the park.
 In the picture above I tried to capture the movement of the hammer and the attentive focus of the young boy as he played the age old gem of a game, whack a mole! (At least that’s what I call it!) Of course I tried my best to win some prizes for Adriana but failed miserably :).
 This photo is of the Nimb Hotel, also called the Moorish Palace. It’s basically a series of restaurants and bars. Unfortunately it started raining while we were walking around the park and we had already had a long day, so I wasn’t able to take as many photos as I would have liked.
 I love this picture of the swings; there’s just enough motion so you can sense the movement in the image. I really wish we’d had more time at the park. Quite honestly it’s a photographers paradise; there’s a huge amount of nostalgic material here and I do hope I can return some time when the weather is better.
Below is a map where I show where the pictures above were taken. This will hopefully help you plan your journey to the city.
And finally, just a few photos that I’m adding to my portfolio. If you’re interested in purchasing any of these just click on the image.
